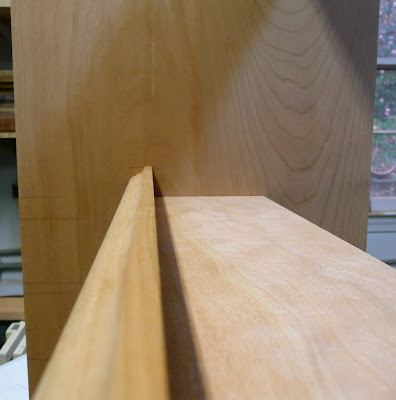
So, I milled up some 3/4"x2" pieces, routed a profile on them and also put a 3/8"x3/4" dado in the back of the trim pieces so that they will slip into the front of the shelves.
 |
| From Book Nook |
This is a shot that gives you an idea of the profile and the lip the trim puts on the shelf (my photography isn't too good)
 |
| From Book Nook |
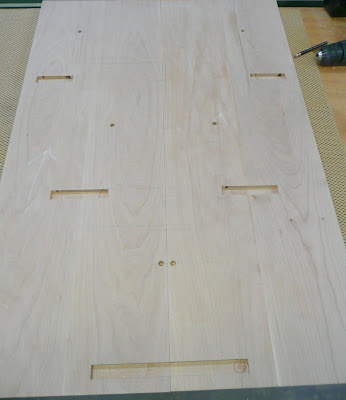
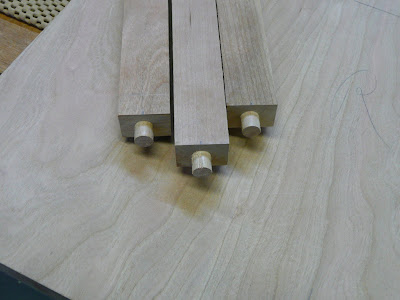
Once that was done, I had to drill the holes to receive the dowels for the cross braces. To do this, I used the same process where I lay the sides back-to-back so that when I lay out the places for the holes they will be perfectly aligned.
 |
| From Book Nook |
 |
| From Book Nook |
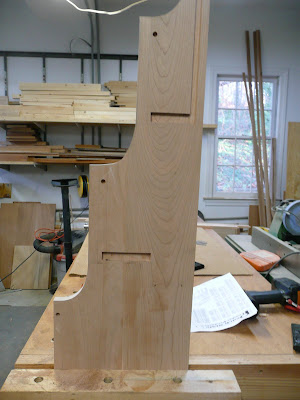
Ok, once that was all done, I had to take some time and put a profile into the sides of the book nook so that they weren't just square and boring. So, after about 12 tries, here is what I came up with.
 |
| From Book Nook |
I'm pretty pleased with that look and I think once it is done will give it a nice profile/look.
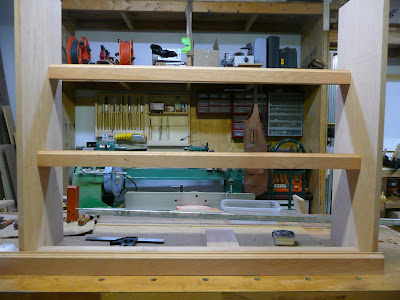
Ok, once that was all done, I did a quick dry fit and then it was time to glue it up! Big milestone...
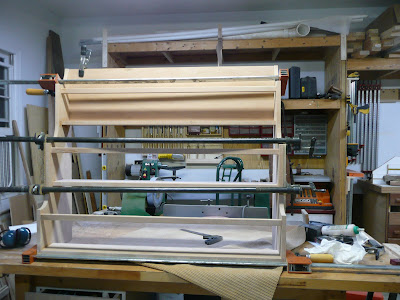
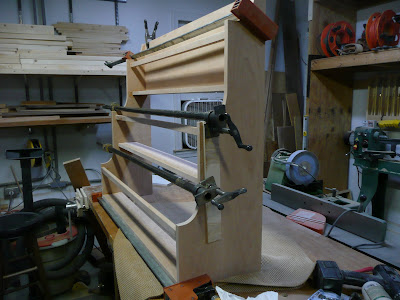
Let me just first say, this was the most frustrating glue up I have EVER done. Oh man, did I ever need an extra set of hands to do this. Anyways, I got it done and below are a couple shots of the sides, shelves and braces all glued up. NOTE: notices the top back piece is also in; I had to do this because I had to put dados into the back to receive the back; you can see that dado in the pictures above.
 |
| From Book Nook |
 |
| From Book Nook |
Now, I just have to let that set for a while to dry up and then I will come back and glue all the trim pieces on. Once that is done, it is the pains taking task of removing any glue squeeze out and final sanding and then it is "off to the finishing room". I can see the light at the end of the tunnel!
Be Safe!
Very nice :)
ReplyDeletewoodworking how to
Wow, This looks amazing. Love your project. This book nook is impressive. I can't wait to make this for my kid's. Hope so my kid's love it. Then I need a hole saw. Thanks for the sharing such an informative article. Keep up with good work.
ReplyDelete