Saturday, December 11, 2010

Next Project - Will be for sale!!

So, as I wrap up the finish on the Book Nook, I am moving on to another project; I will post pictures of the finished Book Nook once the finish is all done.

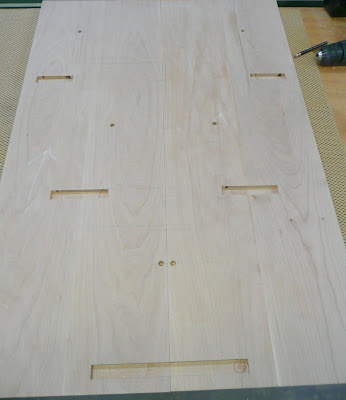
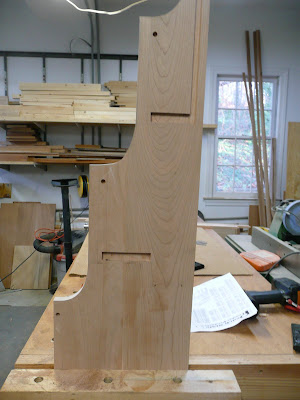
This next project is going to be a Shaker inspired side table, very similar to the bedside tables I have already done, just different dimensions; also, this piece will be FOR SALE upon completion! I have not finalized a price yet so stay tuned. Anyways, this piece will be made out of cherry and curly maple. I am using some of the same cherry that I did for the Book Nook, procured from Peach State Lumber. The "plans" I am using call for 1 1/2" square legs (I put 'plans' in quotes because I am not really going off of one specific plan, but a combination of a few). So, for the legs I am going to use 8/4 lumber to give me that finished dimension. Also, I select a board wide enough that I can get all 4 legs from the same width of wood for grain continuity. Below is a picture of how I did that.
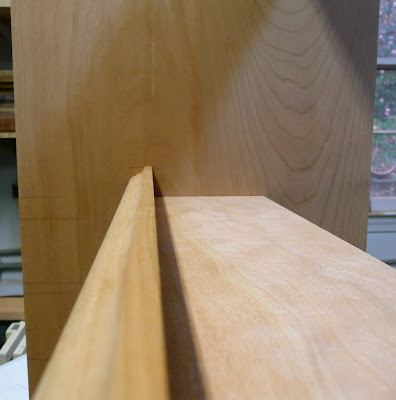
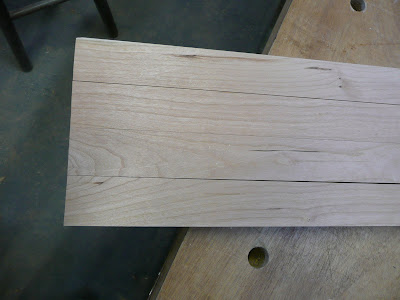
As you can see in this photo, the grain all lines up so you know it all came from the same board. How I keep them all lined up prior to cutting is by numbering them and putting witness marks on the end of the board.
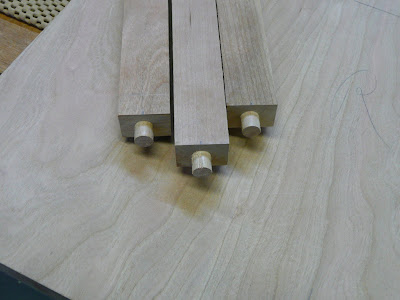
Once all the leg pieces are rough cut, I use my Lee Valley low angle smoother to smooth all side of the legs to final dimensions. This smoother leaves a surface that is glass smooth and ready for finish; I love this thing! Take a look at these full length shavings.
Ok, enough for now. My next order of business will be to mill up the parts that will make up the sides and back. Then I will work on the mortise and tenon joints to hold it all together. So, until then...

Be Safe!

Friday, December 3, 2010

Book Nook - Part 2

So, last time I left off I had routed the dados to receive the shelves. My next order of business as to mill up the trip pieces that will also provide support for the shelves and provide the front lip on the shelf to keep the books from slipping off. Also, I had to drill holes to receive the cross braces that will keep the books from falling forward.

So, I milled up some 3/4"x2" pieces, routed a profile on them and also put a 3/8"x3/4" dado in the back of the trim pieces so that they will slip into the front of the shelves.
This is a shot that gives you an idea of the profile and the lip the trim puts on the shelf (my photography isn't too good)
Once that was done, I had to drill the holes to receive the dowels for the cross braces. To do this, I used the same process where I lay the sides back-to-back so that when I lay out the places for the holes they will be perfectly aligned.
Ok, once that was all done, I had to take some time and put a profile into the sides of the book nook so that they weren't just square and boring. So, after about 12 tries, here is what I came up with.
I'm pretty pleased with that look and I think once it is done will give it a nice profile/look.

Ok, once that was all done, I did a quick dry fit and then it was time to glue it up! Big milestone...

Let me just first say, this was the most frustrating glue up I have EVER done. Oh man, did I ever need an extra set of hands to do this. Anyways, I got it done and below are a couple shots of the sides, shelves and braces all glued up. NOTE: notices the top back piece is also in; I had to do this because I had to put dados into the back to receive the back; you can see that dado in the pictures above.


Now, I just have to let that set for a while to dry up and then I will come back and glue all the trim pieces on. Once that is done, it is the pains taking task of removing any glue squeeze out and final sanding and then it is "off to the finishing room". I can see the light at the end of the tunnel!

Be Safe!